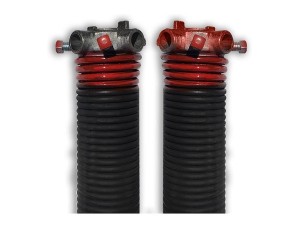
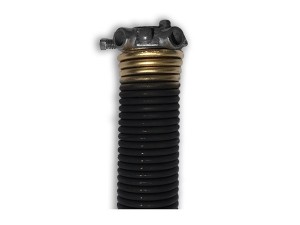
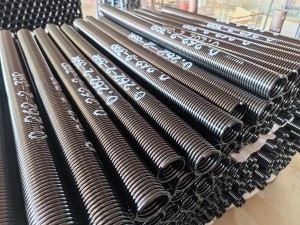
As Springs Manufacturer and Supplier, we offer Box Truck Roll Up Door Spring Replacement in 1-3/4″, 2-1/2″, 2-3/16″ and 2-5/8″ Inside Diameter with Wire Size ranging from 0.162″, 0.177″, 0.182″, 0.192″, 0.207″, 0.218″, 0.225″, 0.234″, 0.243″, 0.250″, 0.262″, 0.273″, 0.283″, 0.295″ to 0.393″. All Bestar springs are fabricated with high carbon ASTM A229 Class II oil-tempered wire.
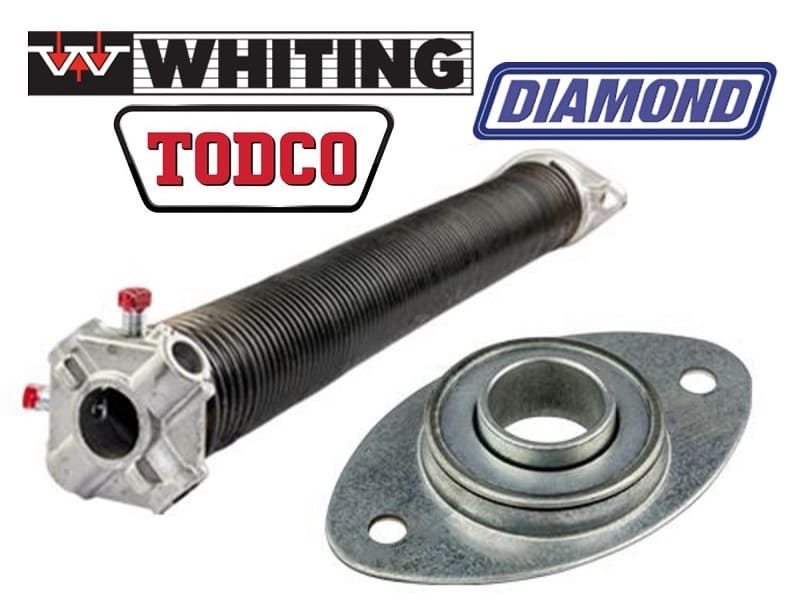
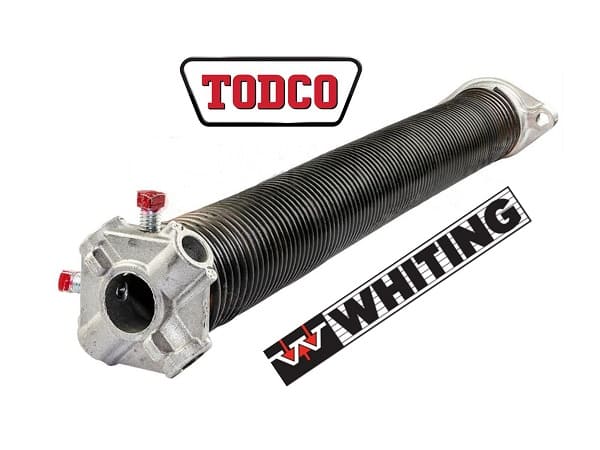
Todco Door Spring
Counterbalance Spring with Winding & Anchor Plugs is a replacement part for a Todco Roll Up Door.
The truck door counterbalance spring with an inside diameter (I.D.) of 1-3/4″ or 2-1/2” is compatible with Todco 3/4” thick Dryfreight wood or aluminum-clad wood commercial truck doors, and with 1-1/8” thick Todco PolarGuard insulated truck doors.
Whiting Door Spring
The Whiting roll up door spring Assembly includes shaft, LH & RH springs, winding cones, cable drums with bearings and spring spacers.
The Whiting truck door springs are treated with rust preventative.
Torsion Spring – 1-3/4″ Inside Diameter
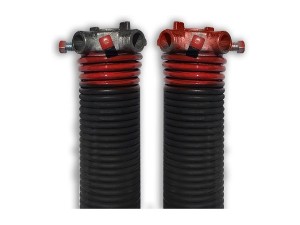
Torsion Spring – 2-3/16″ Inside Diameter – Curbside – Right Hand Wound – For use with 2376 balancer
Torsion Spring - 2-3/16″ Inside Diameter – Roadside – Left Hand Wound – For use with 2376 balancer
Torsion Spring - 2-5/8″ Inside Diameter – Curbside – Right Hand Wound – For use with 7176 balancer
Torsion Spring - 2-5/8″ Inside Diameter – Roadside – Left Hand Wound – For use with 7176 balancer
Product Features:
1. ASTM A229 Class II Wire
2. Oil Tempered or Powder coated-baked gloss finish
3. Heat treated for stress relief
4. High tensile
5. Rust preventative
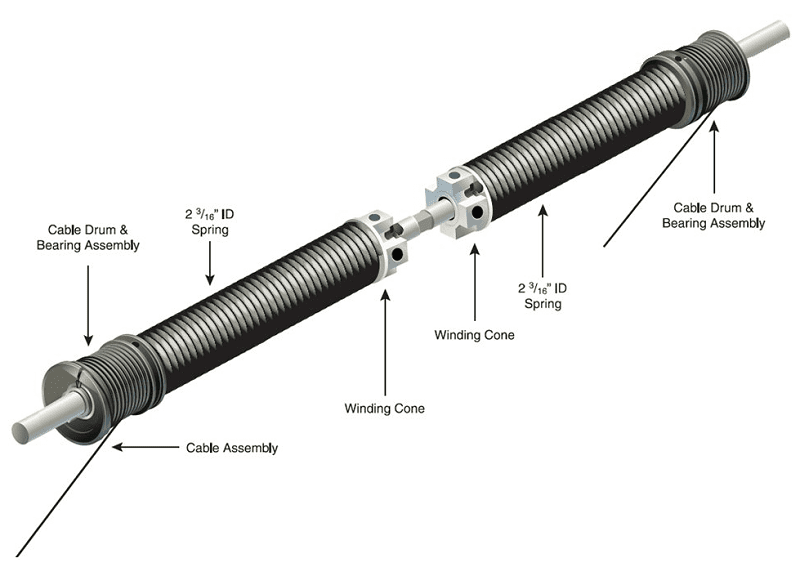
How to Replace Truck Door Operator Balancer?
The Whiting door balancer, or Todco door balancer, is made up of a fixed shaft (it does not turn) and two spring assemblies with drums towards the walls for the cables to roll onto. Each spring thus absorbs half of the door’s weight.
In order to replace the spring balancer very well, you should proceed as follows:
1. Remove both cables from the door and install them onto cable drums. Make certain that the cable follows the grooves.
2. Install a cotter pin in the balancer shaft hole farthest from end. Remember to set the cotter pin properly. If not, it will interfere with drum rotation.
3. Install shaft into brackets. In the standard header, red end goes on roadside. In the shallow header, red end goes to the curbside.
4. Install and set cotter pin closest to end of the shaft.
5. Connect cables to door.
6. Wind balancer by inserting bar into winding cone and pulling down for standard installation, or by pushing up in a recessed header. Counting turns as soon as the cone rotates. 3 1/2 to 4 turns would be correct.
7. After the correct turns have been applied, insert the center clamp over the bracket and tighten both nuts securely.
8. Remove both clamps in the tracks carefully.
9. Lower the door and test it several times. A properly balanced door should not fly open, nor fall closed.
Previous: Garage Door Torsion Spring to USA
Next: Discount Price Top sale China factory 4G video call Waterproof IP67 Parental Control Kids safety Smart Watch Phone GPS Tracker with SOS emergency Call D35

